Every blogger claims they’ve made the best brownies, but truly, these are the best gluten AND dairy free brownies specifically made with simple, good for you ingredients! First things first, this are not traditional brownies because they are made with sweet potato! I’ve also swapped the sweet potato for pumpkin or mashed bananas depending on what I’m in the mood for!
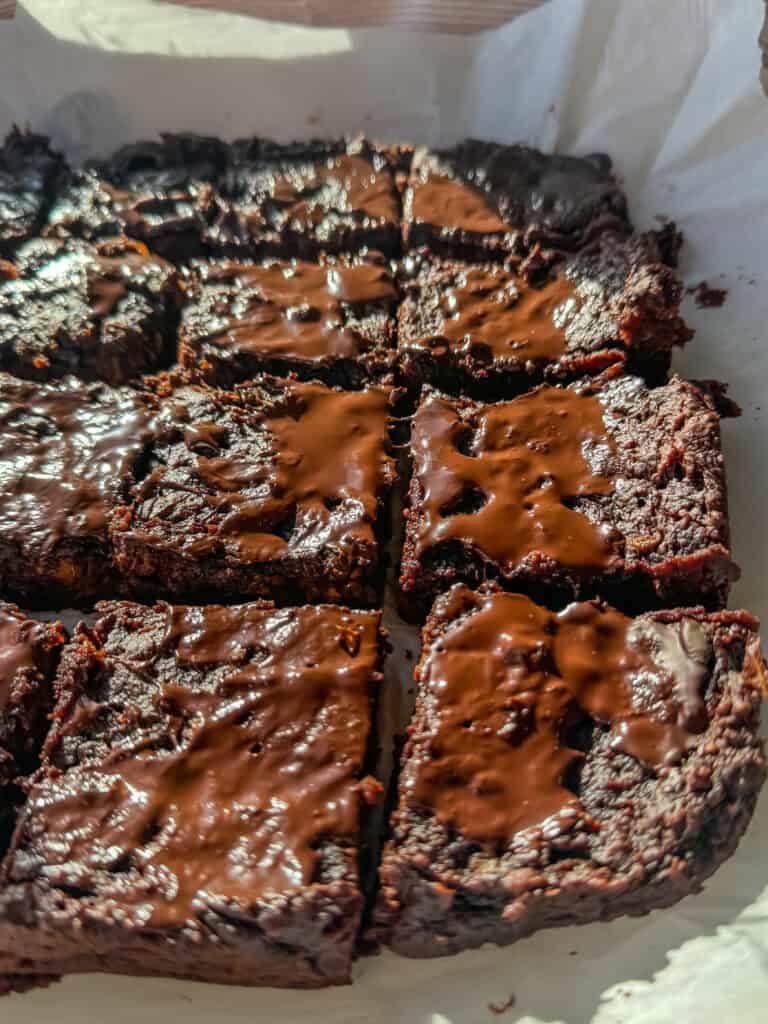
These gluten and dairy free brownies are fudgy, gooey and REALLY easy to make. This is a simple, easy, no fuss recipe that will curb your chocolate craving in 40 minutes!
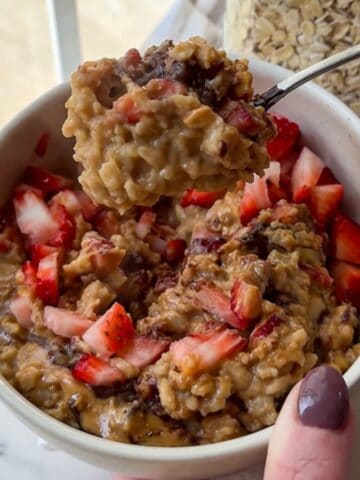
If you love good for you gluten free dessert recipes, you’ll love my gluten free banana cream pie and my 4 ingredient snickers dates.
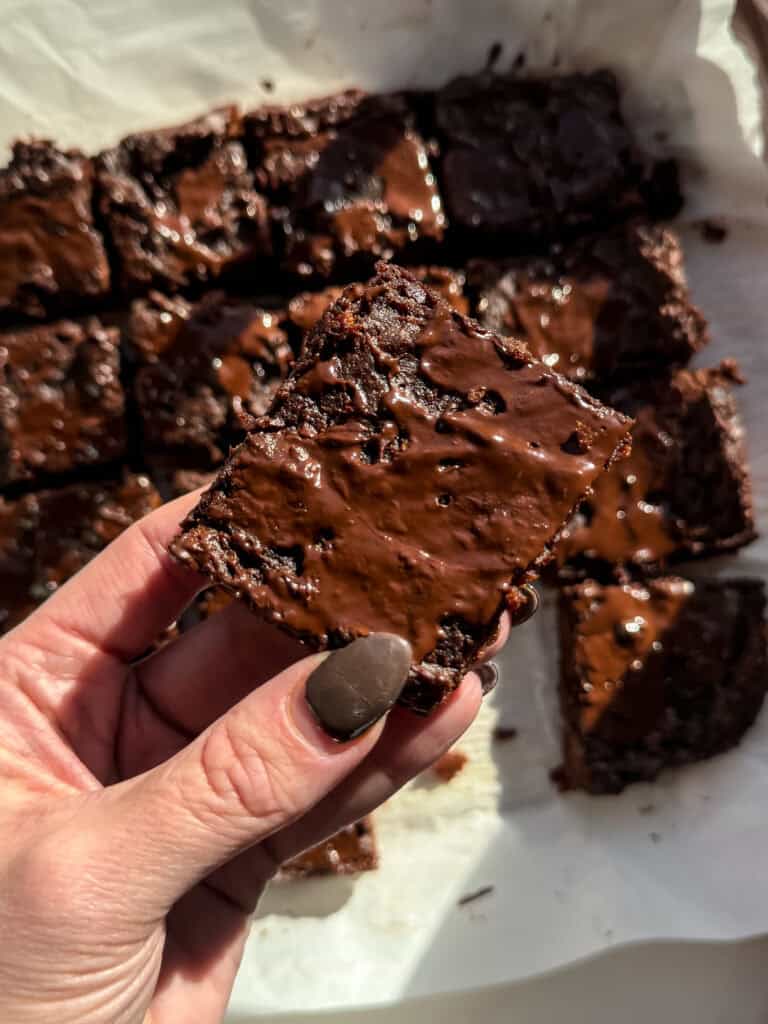
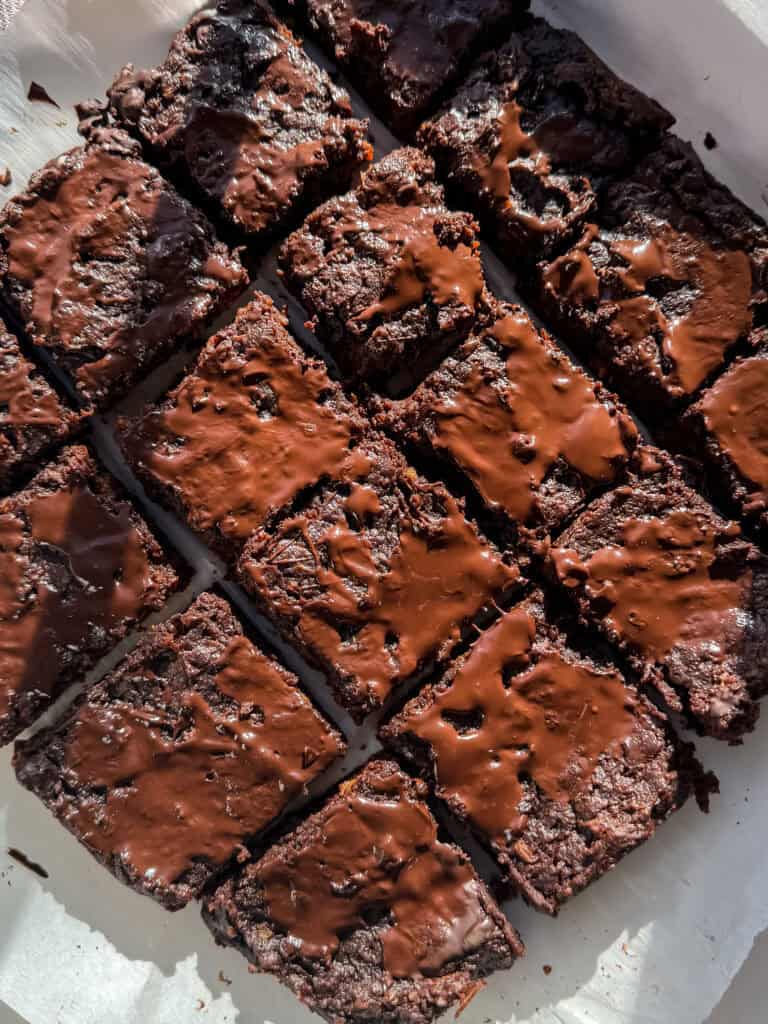
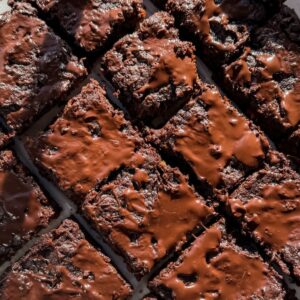
These are the VERY BEST gluten and dairy free brownies that also happen to be vegan! Ultra fudgy, chewy and gooey! No one will guess these are gluten free and vegan, I promise!
What Makes this Gluten free Recipe Special?
- These gluten and dairy free brownies have the classic fudgy, chocolate taste without any of the gluten or dairy.
- They are better than a box mix because not only do they taste fudgier, chewier and softer, but are also made with good for you ingredients!
- The best part about this recipe is that it is a one bowl recipe…which means only one bowl to make it and only one bowk to clean up! My ideal situation since I hate doing dishes. I also like to line my brownie pan with parchment paper for easy clean up when I am done.
- This recipe is allergy friendly. It is naturally gluten free and dairy free so it is the perfect allergy friendly option for anyone!
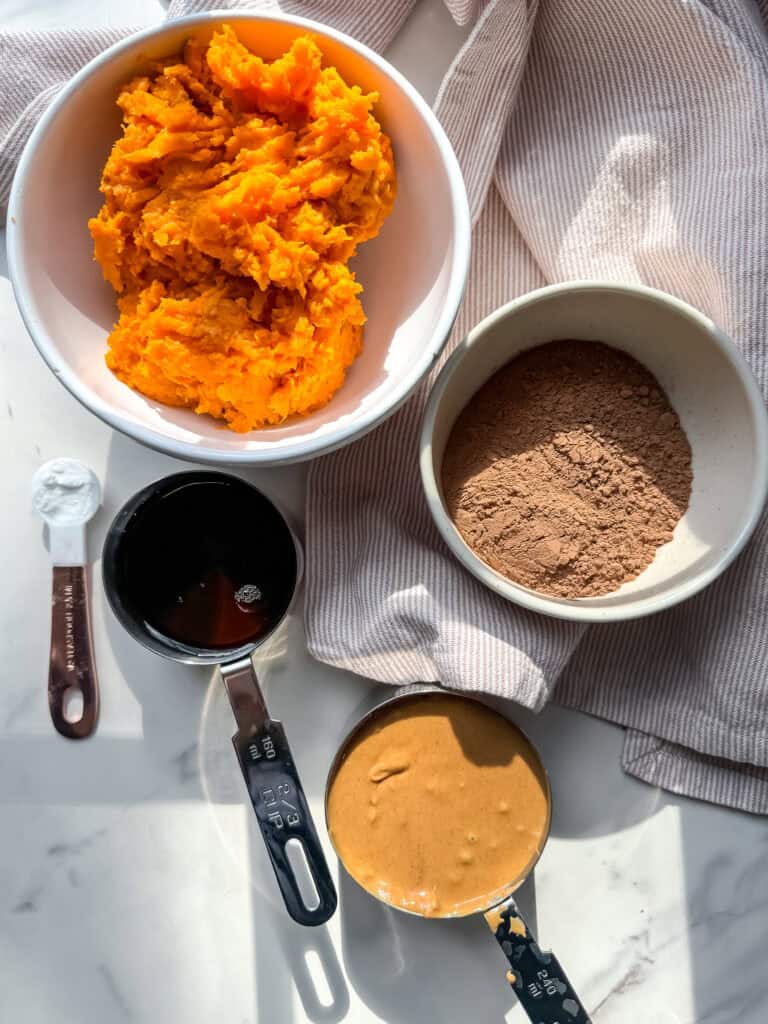
Ingredients & Substitutions
Sweet potato: I always make my own mashed sweet potatoes here instead of buying sweet potato puree. The storebought sweet potatoe puree is thin and has a lot of liquid so the brownies will be too soft. You can sub mashed banana instead of the sweet potato or even mashed pumpkin.
Peanut butter: You can use creamy or chunky peanut butter in these gluten and dairy free brownies. I like organic peanut butter the best with no other ingredients besides peanuts and salt. All natural peanut butter works great too! If you want to skip peanuts you can use almond butter or cashew butter instead.
Cocoa powder: This is used instead of any gluten free flour. It gives the brownies their chocolate flavor without any of the dairy.
Maple syrup: This helps sweeten the brownies. You can use honey if you do not have maple syrup.
How do I make this recipe?
In a large bowl, whisk together the mashed sweet potato, peanut butter, cocoa powder, maple syrup, and baking soda until well combined.
Line an 8×8 or 9×9 baking pan with parchment paper.
Spread the sweet potato mixture evenly in the pan. Bake at 350°F (175°C) for 30 minutes, or until set.
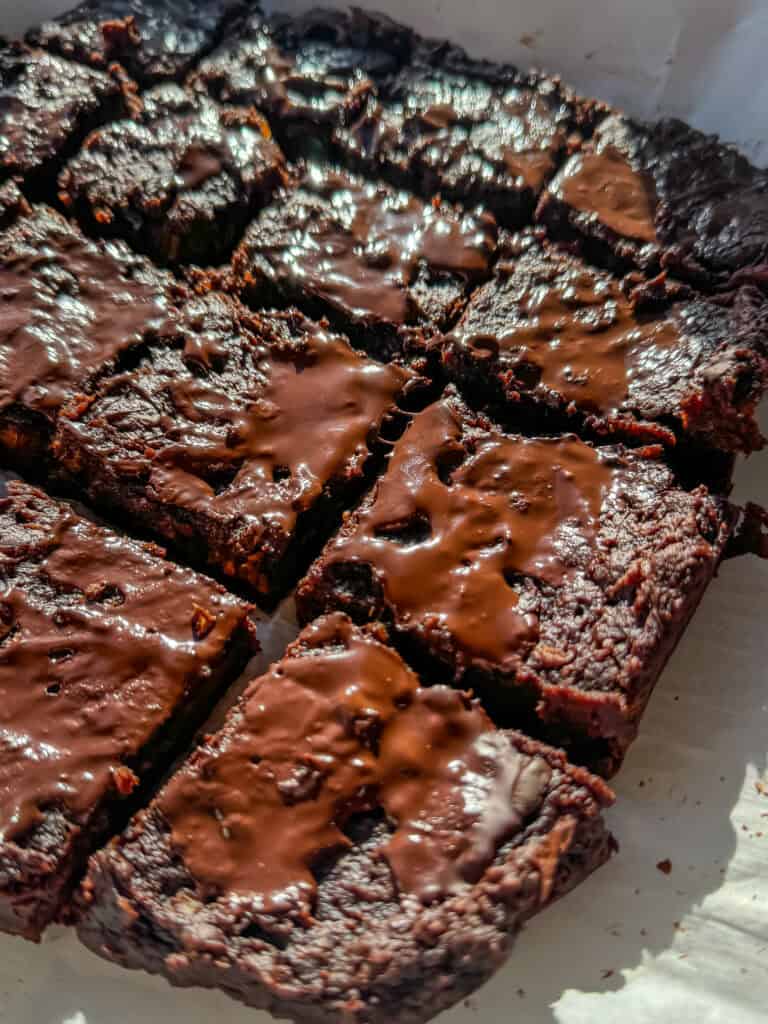
Remove the gluten and dairy free brownies from the oven and immediately sprinkle with dairy-free chocolate chips. Let the chips sit for a few minutes to melt slightly.
Expert Tips & Tricks
I always like to line my brownie pan with parchment paper for easy clean up when I am done. This makes sure the gluten and dairy free brownies don’t get stuck to the pan when baking.
How to make the mashed sweet potatoes?
I like making my own mashed sweet potatoes here instead of buying sweet potato puree. The storebought sweet potatoe puree is thin and has a lot of liquid so the brownies will be too soft. To cook the sweet potatoes there are 2 options:
Microwave: Pierce each sweet potato several times with a fork. Microwave on high for 10-15 minutes, or until tender when pierced with a fork. Let cool slightly before handling. This is the fastest option.
Bake: Use this option if you do not have a microwave. Preheat oven to 400°F (200°C). Wrap each sweet potato in foil and bake for 45-60 minutes, or until tender when pierced with a fork. Let cool slightly before handling.
What gluten free flour can I use in these gluten and dairy free brownies?
The best part about this recipe is that you don’t need gluten free flour! Forget stressing about which gluten free flour blend is the best to use. This gluten and dairy free brownies recipe uses cocoa powder instead as the dry ingredient to these brownies. It helps make them chewy and gives them that heavy chocolate flavor!
Can I use Coconut Flour?
For these gluten and dairy free brownies, I use cocoa powder instead of a gluten free flour blend. Cocoa powder is naturally gluten free and helps to make these brownies fudgy, chocolate forward and dense. I would not substitute something like coconut flour because not only will they be drier but you will also lose some of the chocolate flavor.
Is Cocoa Powder Dairy-Free?
Contrary to what it sounds like, cocoa powder is actually dairy free. Cocoa powder is made with from ground cocoa solids and should not have any dairy or milk in it. When I said SHOULD be dairy-free, that is what the classic cocoa powder is. There are so many on the market though that I just don’t trust them all to be classic and dairy free so I always check that it is labeled 100% Cocoa, and has no dairy ingedient on the ingredient list. Always check to make sure it doesn’t say “traces of dairy” if you are highly sensitive, lactose intolerance or allergic to it!
How do I get a clean cut on the vegan gluten free brownies?
These gluten and dairy free brownies cut best when they’re cold or completely cooled. I like to use a long, sharp knife. Then, I cut straight-down in a slicing motion. Always slice down evenly from the top instead of sawing back and forth. If you saw back and forth it will rip the top and give you ragged edges.
I like to wipe the edges of the knife off with a paper towel or wash it under hot water in between cuts for the cleanest look and the crisp edges.
How Do I Serve these gluten and dairy free brownies?
I like to let my gluten and dairy free brownies cool for about 5 minutes on the counter before serving them. These are SUPER fudgy so after slicing them I also place them in the refrigerator for about 10 minutes before eating. If you want warm, fudy, chewy brownies you can skip the refrigerated 10 minutes and dive right in.
I like to serve my gluten and dairy free brownies with fresh fruit on top. I like to slice up some strawberries or serve with some blueberries. You can also top them with ice cream, whipped cream or any dairy free whipped topping.
How do I Store this recipe?
To store, I let the gluten and dairy free brownies cool completely before refrigerating in an airtight container for up to four days.
For longer storage, I love to portion into freezer-safe containers and freeze for up to 2 months.
Looking for more gluten free recipes?

If you make this recipe and enjoyed it, I would really appreciate a review! You can find me on Instagram, Facebook, Tik Tok and Pinterest. Purchase my cookbook Easy Allergy Free Cooking. Join my exclusive weeknight meal plan group for 5 weekly 30-minute dinner recipes. The weeknight meal plan also has an accompanying podcast as well! I would love for you to follow along!
Gluten and Dairy Free Brownies
Ingredients
- 2 cups sweet potatoes, mashed 2-3 sweet potatoes
- 1 cup peanut butter
- 1/2 cup cocoa powder
- 1/2 cup maple syrup
- 1 teaspoon baking soda
- 1/2 cup dairy-free dark chocolate chips
Instructions
- Cook the Sweet Potatoes. Pierce each sweet potato several times with a fork. Microwave on high for 10-15 minutes, or until tender when pierced with a fork. Let cool slightly before handling. OR Preheat oven to 400°F (200°C). Wrap each sweet potato in foil and bake for 45-60 minutes, or until tender when pierced with a fork. Let cool slightly before handling.
- Once cooled, peel and mash the sweet potatoes.
- In a large bowl, whisk together the mashed sweet potato, peanut butter, cocoa powder, maple syrup, and baking soda until well combined.
- Line an 8×8 or 9×9 baking pan with parchment paper.
- Spread the sweet potato mixture evenly in the pan. Bake at 350°F (175°C) for 30 minutes, or until set.
- Remove the brownies from the oven and immediately sprinkle with dairy-free chocolate chips. Let the chips sit for a few minutes to melt slightly.
- Use a spatula to spread the melted chocolate evenly over the cookies.
- Let the brownies cool completely in the pan before cutting into squares or bars.
- Store in an airtight container in the refrigerator for up to 3 days.
Nutrition
Love this recipe? You can sign up here to receive easy meal plans, exclusive new recipes and updates!
Leave a Reply